Showing posts with label Tips on baking. Show all posts

Tuesday, 9 December 2014

Kuromi birthday cake

 
My first chocolate art, piping Kuromi onto acetate sheet and placing on a cream cake.
This cake was requested by my brother for his girlfriends birthday. Ivy loves the character Kuromi and I never heard of it until today. I sketched the character on to paper and place an acetate sheet over the sketch and piped chocolate to draw the face out.  First time making this and I'm very excited and the results was good. I can actually draw!! haha.
I know where I get my artistic side from, my dad.
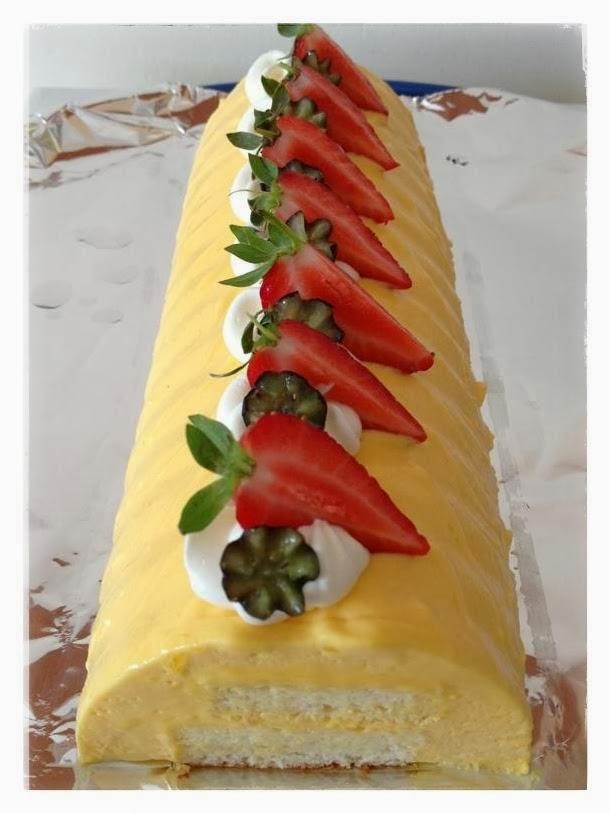
Whipped cream with a few drops of red gel colour and pipe rosettes using Wilton 1M nozzle.
And that's how simple it is.
Now I can draw other characters for cakes, can't wait to make another one soon.


Sunday, 20 July 2014

Modelling chocolates


Modelling chocolates, it's very delicious and so versatile that you can make anything out of it like fondant. I decide to learn how to make this as I am a cream cake hobby maker. Other than fresh fruits, I wanted to make something different to decorate my cakes with.

Here is the recipe broken down into smaller batches easier for me to work with.

Ingredients:
113g dark chocolate
50g golden syrup (original recipe calls for light corn syrup but I haven't been able to find them in the shops)

Method:
Melt the chocolate over a double boiler, warm up the syrup in a jug.
Pour syrup into the melted chocolate and then fold gently. Keep folding until it comes together. The mixture will be stiff and like sugar paste. Once it's all combined, wrap with cling film and leave overnight to firm up.
When you're ready to use it, knead until smooth so you can start moulding it.

Here's the original recipe link for modelling chocolate http://cakesdecor.com/entries/10-modelling-chocolate-uk-recipe-and-tutorial


Here is the tutorial for the chocolate roses I made http://youtu.be/D48SIvhYH8o


Hope you will give this a go and it's not too hard just need a little patient.


Saturday, 31 May 2014

Chocolate cheesecake


Friday morning, kids are both at school, I have the morning free but it was absolutely chucking it down today.  I wasn't in the mood for shopping so what can I do?
Shall I make a cheesecake? Oh why not haha..
 
I thought I could bake a simple chocolate cheesecake but I ended up piping chocolate to decorate the cheesecake. As usual, I like to make my cakes to look pretty.
 
And here I made this chocolate cheesecake with piped chocolate deco and strawberries.
And what is so great about this? It doesn't have to be baked in a water bath. And yes, it cracked but we are going to cover it with ganache.


Friday, 9 May 2014

Mango Mousse recipe


Ingredients:
350g whipping cream
300g mango puree
3. Tbsp icing sugar
10g gelatin
60g water
Method:
Soften the gelatin with water and dissolve into liquid, you can do 2 x 20 second burst in the microwave until it has melted.
Once the gelatin has cooled, pour into mango puree and mix well.
Whisk the whipping cream until mousse state and add icing sugar.
Fold the cream into the mango puree and wait 10 mintues, the mousse will thicken slightly and you are ready to use it for cake making.
You will need to chill it in the fridge for at least 4 hours before eating.
Best if chilled over night.
For sponge recipes click here


Sunday, 4 May 2014

Strawberry decorations

 
Have you ever wonder why many of my cakes using strawberries are alway the same size?
 
Well, you probably think that I must be lucky enough to buy them in a box the same size.
No, not always the case and I have bought strawberries that came in all sorts of shapes and sizes.
 
I have come up the a method I use all the time to cut strawberries into the same size and I will share it with you.

 
Pick out a Strawberry that is what size you want for your cake.
Cut in half.
Grab another one thats slightly bigger than the first one.
Cut the second one into an angle so that it is close to the first one.
Again cut the otherside, so that both ends matches up with the first piece,
You will have the excess from the middle part which you can use as filling for the cake.
 
When you lay them out you can see that they are the same thickness and equal lenght.
 
Here's a quick video that demonstrate how it's done.
 

Sunday, 16 March 2014

Ombre birthday cake for my little princess


It was my daughter's 8th birthday last week.  I promised her I will make her a birthday cake.
Few days before her birthday, my son fell ill, he had high temperature, sickness and the chills. My poor baby wasn't feeling good at all.

I really didn't think I could make it in time. But in between looking after him, I made the cake in separate stages.
I baked the sponge first and then will decide later if I could decorate it.
It was a little rushed but I was thinking a quick & simple cake is better than no cake.

To my surprise, I manage to make a rosette ombre cake for her and talking about trying to make it simple cake! I had to go for a little complicated one. But it was so worth it as she wasn't expecting it, she came home from school and was so happy to see it.


Friday, 14 February 2014

Black Forest Cake

Happy Valentine's Day!
I don't usually celebrate Valentine's day as me and my husband are always busy.
This year he is busy as usual but I thought I make him his favourite Black Forest cake as a gift.
It's always difficult to think what presents to buy him, but as a cake maker I can't think of anything but simply a lovely cream cake.
 
I have found this chocolate sponge recipe from a Taiwanese cookery show on you tube,
unfortunately this video have been taken off but the link still has the recipe in Chinese, so click here for the recipe and method in Chinese.
I am surprised how light this sponge is it actually springs back when you squeeze it!

Thursday, 23 January 2014

Eton Mess Cake


Eton Mess is a tradtional English dessert consists of fresh cream, strawberries and meringue.
I will show you how this cake is made.

All you need is an 8 inch sponge, recipe is here.
A tub of whipping cream 500ml with 3. Tbsp icing sugar to sweeten
Box of fresh strawberries
12 ready made meringue 

The ingredients are easy, it's assembling of the cake that requires a steady hand and a little patience.
 
 
Prepare an 8 inch sponge and cool on a wire rack.


Saturday, 28 December 2013

Making of the mini mango mousse cake border.


My mini mango mousse cake is completed and this is how I made the chocolate border. 


I've prepared a mini mango mousse cake and chilled overnight in the fridge.
It's ready to take out of the tin for some more decorating.